

Published: February 12, 2019
I wanted to see how Google’s ($50) Titan Security Key could work to secure my online accounts. Based upon my past experiences at Lawrence Livermore National Lab, where we tested a separate physical key, I understand how well the security offered by an external physical device can work. As I test this new, commercially available, device I will try to answer the following, simple, questions:
- Is the Titan Security Key easy to set up? (Not really…it’s messy)
- Is it easy to take away if I decide it is not for me? (Maybe, it says it is….)
- Do I need to carry it around with me all the time? (No, but, I would take it on trips or to work)
- Can I use it with my NEW Pixel 3 XL, or for that matter, with any smartphone? (Pixel 3 XL works fine, although messy set-up)
- How intrusive is it to use? (Once you get signed in using Advanced Protection and understand that, on your computer, it only works with a Chrome browser, it seems fine)
- Is it for an ordinary user like me, or is it more for those at higher risk like Politicians (who are mostly not tech savvy), Journalists, and/or IT Admins, celebrities, etc. ? (the folks who need it the most are, in my opinion, the least tech savvy. Support personnel will be busy teaching them how to use this, it is not easy or intuitive to set-up. Using it might be ok, time will tell)
Titan Security Key
I purchased this device several months ago and gave it an initial try at set-up. It was awful. I put it aside and waited a few months. Although the process now, in Feb 2019, is much much better than when I first tried it, it is still messy.
As I mentioned above, those who most need it (think Podesta) will take a lot of time from their support people to get this set-up. Using it “should” be easier, but, time will tell.
What is “Phishing”?
This is what happened to Podesta in the 2016 election. He gets an email from an unknown source that probably looks like a known source. Included in that email is a link to one of his services, but, that link is actually to a fake service. He uses his login and password…..oooops.
My #1 rule is: NEVER click on an emailed link then put in the keys to your online life…i.e. your login and password.
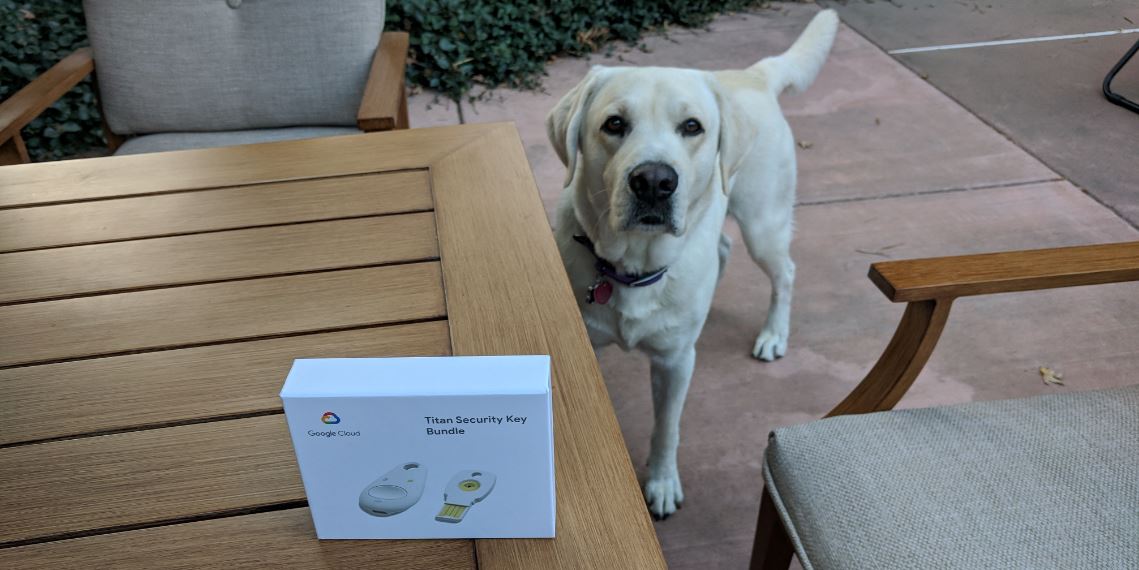
Un-boxing the Titan Security Key
Titan arrived a couple of weeks ago and I took some initial pictures as I “un-boxed” it.
Opening the box, I found the following:

- Titan Bluetooth Security Key
- Titan USB Security Key
- Micro – USB connecting cable
- USB-A to USB-C adapter
- Printed instructions
The web sites to head off to are:

The first one (see screen shot above) is for basic information on getting and using the security keys: g.co/titansecuritykey
While the second one, below, is the new and improved (but still messy) set-up site: g.co/advancedprotection

Once configured (see the sections below) the keys use “FIDO” authentication.
To learn more about FIDO go here: FIDO Authentication Alliance. Or watch the videos below.
Setting Up the Titan Security Keys
I really don’t think I need super online security above and beyond 2-Factor authentication (which YOU should have already….if not, do it!), but, for the sake of learning something new, and writing / teaching about it, I purchased the keys for $50 and will be using them moving forward.
Caveat: The set-up of Advanced Protection of your Google accounts is still messy. I have not tried them with Apple accounts, or anything else. I suspect that they might be just as messy. Please let me know (comment below or email) if you try this elsewhere.
My Experience
I used the two Titan security keys show in the photo below.

The blue is pointing to the Bluetooth key, the red points to the USB key and the purple points to the cable I used to connect the Bluetooth key to my HP laptop (I have Bluetooth, but, I used the cable connection here as a test).
I got an email from Google telling me that I could set up “Advanced Protection”. I closed the email (remember Rule #1 above) and went to the link in this blog entry (see above).
Once there, I proceeded in a nice orderly fashion…..until I got scared.

I clicked on the leftmost “Add Security Key” and saw this:

I plugged in the Titan USB key and pushed the gold button.

Eureka! The USB Key is now set-up. I then selected the other “Add Security Key”….

And sure enough it worked. I plugged it in rather than using Bluetooth.

Now both keys are registered. 🙂

All I need to do now was activate “Advance Protection”…..

Ooops…..I stopped here. What if I cannot connect this stuff via Bluetooth (or NFC) on my Pixel 3 XL????
The next day, I repeated the sequence using my Pixel 3 XL. Interestingly, all the work I did above was NOT saved, so I had to do it again. I will save you the details, but, needless to say, connecting the Pixel 3 XL to the Bluetooth key was messy (but, some of that mess was just me).
I saw this a lot as I was futzing around with my Pixel 3 XL Bluetooth and the app.

But, eventually I got it set-up and was told to go back to my computer and Chrome browser….to finish the process.
Guess what? Nothing was saved and I had to go thru the entire process one more time. How funny, or should I say “messy”.
FINALLY finished (I think) I took the big step and fired up “Advanced Protection” which logged all my devices out of my Google account.
The crucial test came trying to get back into my account with both the HP laptop and, more importantly, the Pixel 3 XL.
After more messiness….it finally worked (or I finally understood what the hell was going on).

Yippee!
Conclusion
Bring on the hackers. Just kidding.
My Google account is now fully protected so that even Podesta could not f-ck it up. Hmmmm, well, maybe.
If YOU are someone who could benefit from this very advanced security for your online accounts, I wholeheartedly recommend spending a measly $50 to gain super duper protection…..Assuming you are willing to muddle through the messiness of getting it set-up (or hire someone).
I feel so secure. 🙂
Geek on!


