
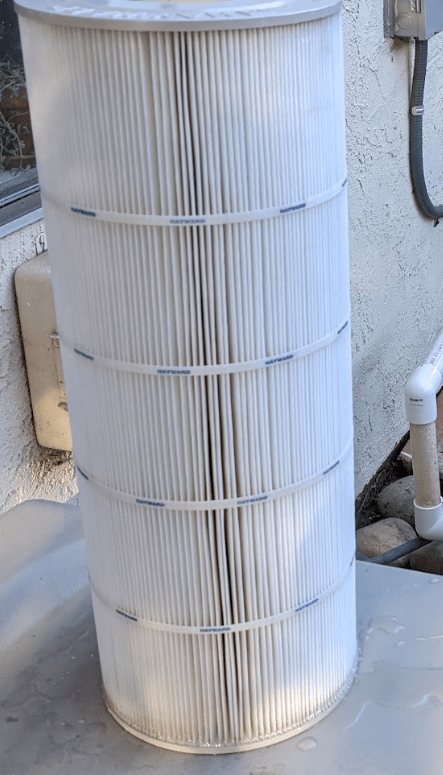
UPDATE 4/16/2022: The filter cartridge that came with the new Hayward filter lasted only 8 months (with anal care every month)! We bought a Pleatco filter from Leslie’s. So far so good. We will see how long THAT lasts.
Back in the day, our DE filter was the very best!
It kept our pool sparkling clean and was easy to clean……then over the years, and years….life happened and both the DE filter and I became…..old!?
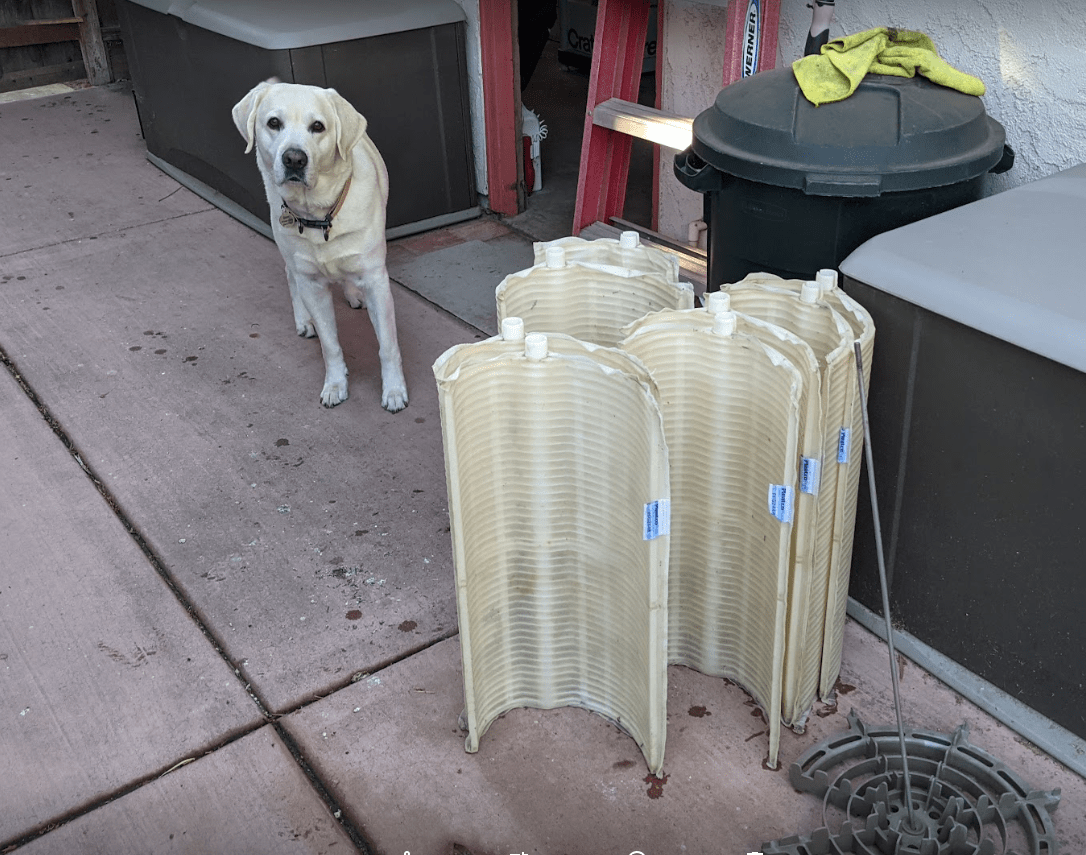
I kept the pool filters clean, and actually enjoyed the effort because….damn those filters looked great when I was done cleaning them! See pictures below.
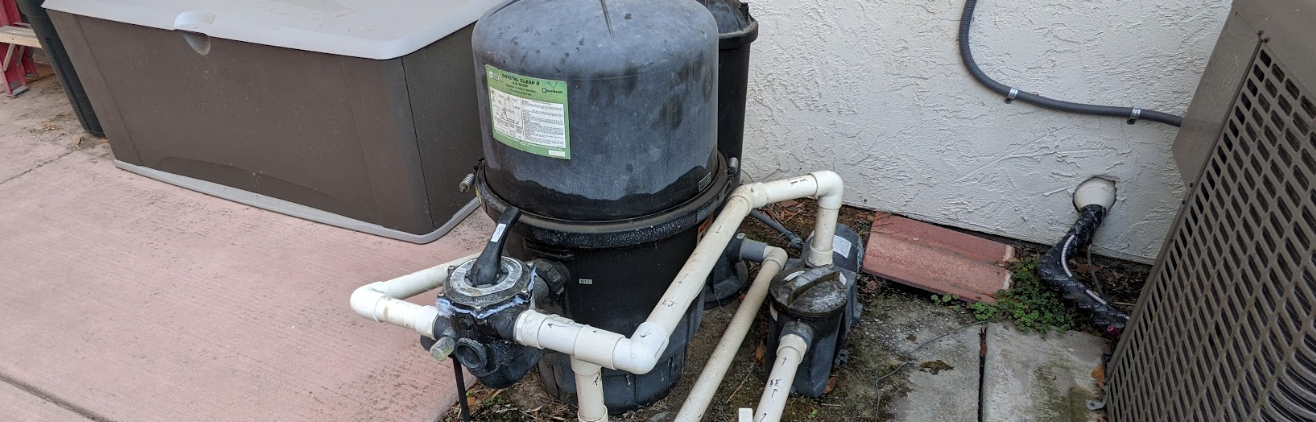
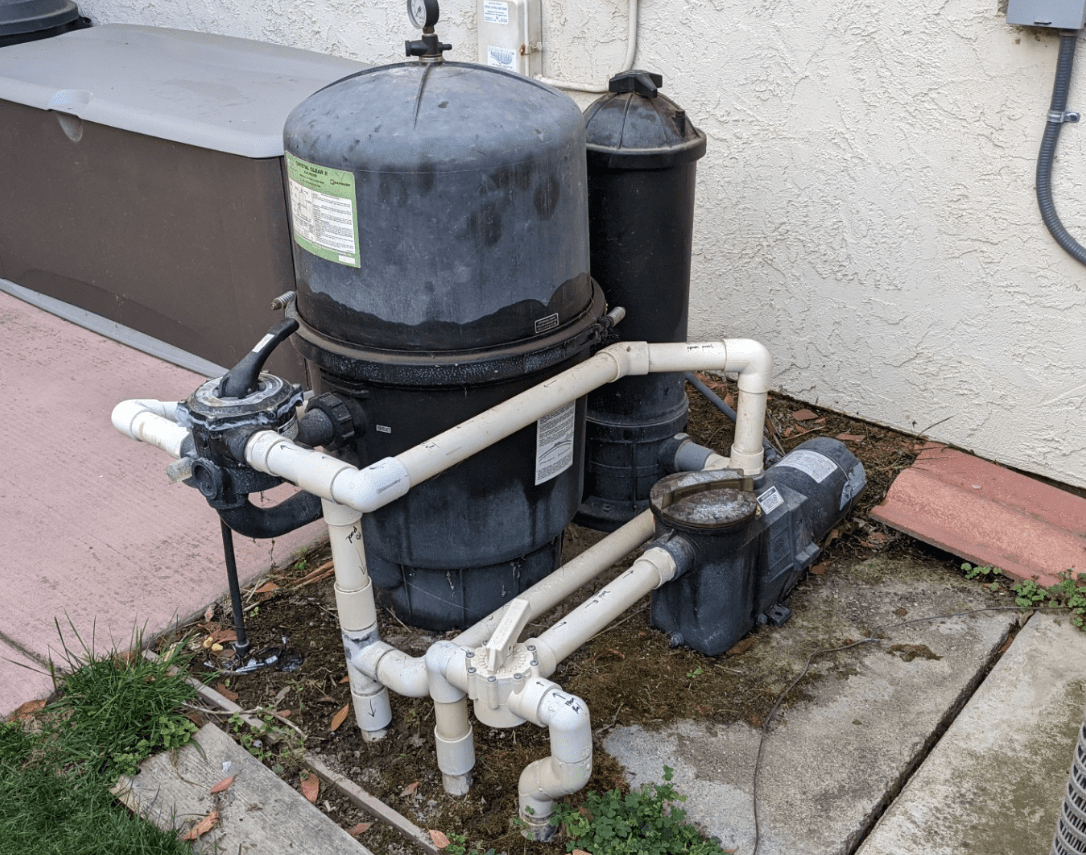
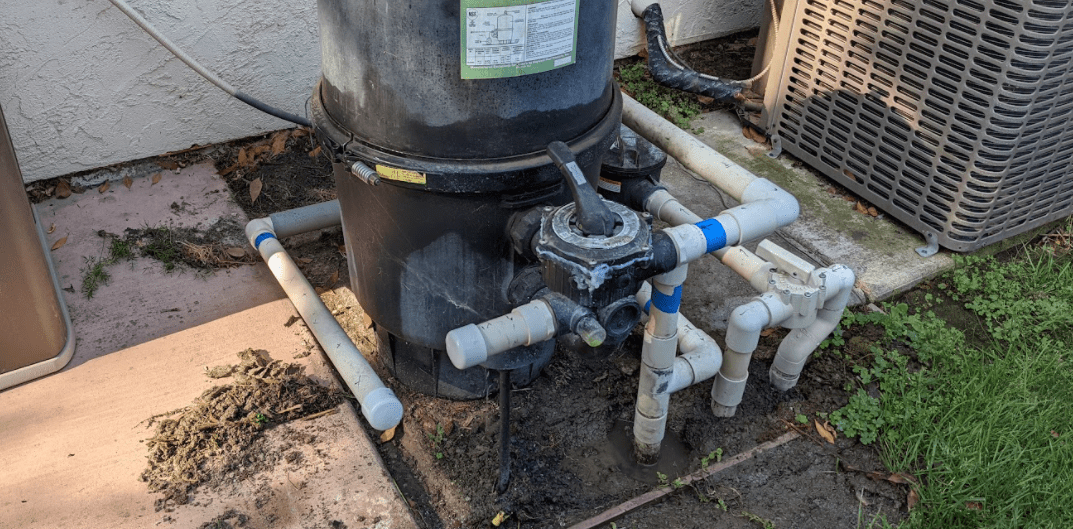
The muti-function valve on the DE filter was the first to go. It started leaking and I had to replace the spider gasket inside, but, I heard that it was difficult to do and, then I started wondering about the (unnecessary?) complexity of the entire system.
Then I had surgery in 2020 (August 19th to be exact….1 year ago tomorrow as I write this) and the world changed!
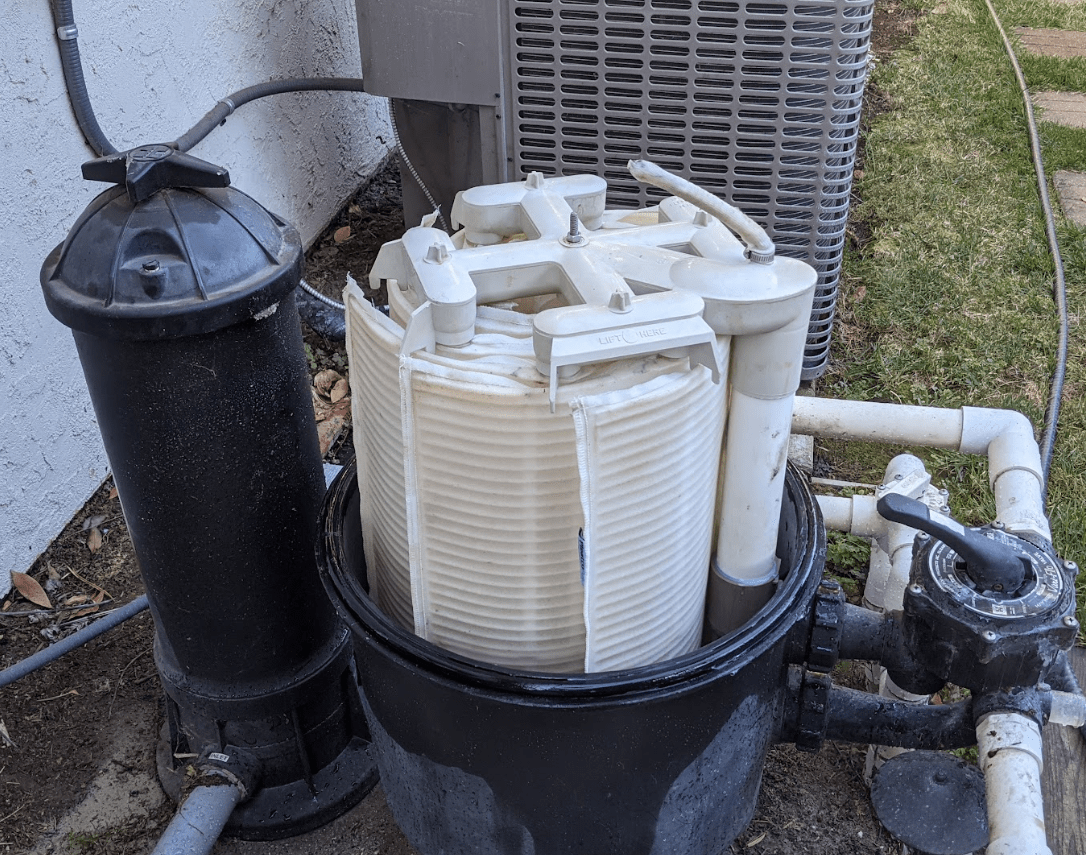
I had to “backwash” the filter system for a few times as I healed. It seemed to work ok from a pool perspective, but, once I felt stronger, I opened up the filters and, holy shit! The backwashing did absolutely NOTHING!
The picture below shows the results of backwashing on my filters! Yikes! I had NEVER had it so dirty.

And it was a good thing I was feeling stronger, because it took a couple of hours to clean this mess up.
See what I mean. Hard work, but, damn, they look good! 🙂
Of course….Blaze helped the whole time, and that made the work funner than it would have been without him, 🙂
Something needs to change!
I spent time looking at the filter and did not like the complexity of the piping, and in particular……that stupid multifunction valve, which when used for backwashing….did nothing. And now it’s leaking more than ever!
I did what I love to do most….I drew a schematic! Once a Geek always a Geek. 🙂
Here is the Old DE configuration. (I’ve designed complex hardware for U.S. Navy / Grumman E-2C airplanes and National Lab (Livermore) security systems that were easier to understand!
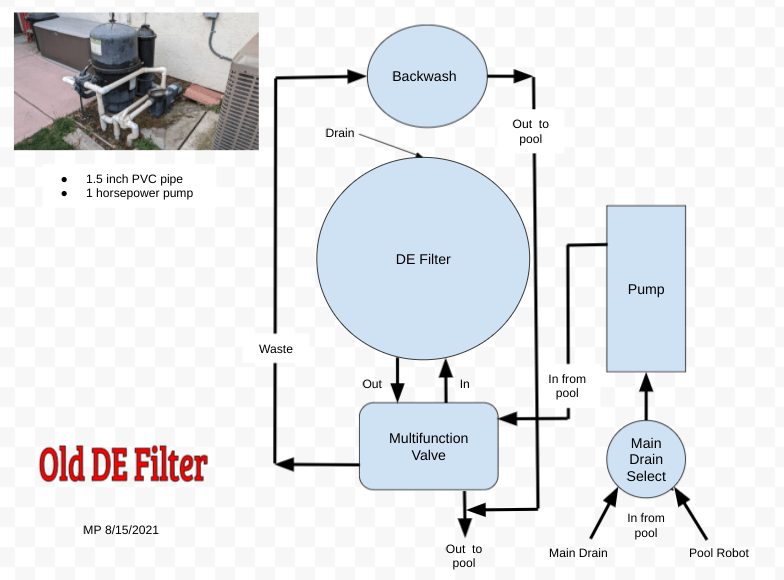
Yikes!
There HAS to be a better way moving forward! I am not getting younger, the DE filter is not getting easier to clean and maintain…something has to give.
Talking with my friend, Pat, he told us that the cartridge filters have come a long way since our DE filter was installed (I think Lincoln was President) and that it is easy to clean the cartridge and keeps his pool nice and clean.
So I did some research and found the Hayward 120 sq ft, StarClear Plus, Model #W3C1200 for sale for $518 at Home Depot. With time payments…..it was quite a deal, and guess what? NO multi-function valve because you do not backwash this filter! Yeah!!!
Look at the schematic for this option! Pure and simple. Wow!

A Couple of Days Before the Cartridge Filter Arrives
Lori ordered the Hayward cartridge filter from Home Depot and we will be getting it in a couple of days…
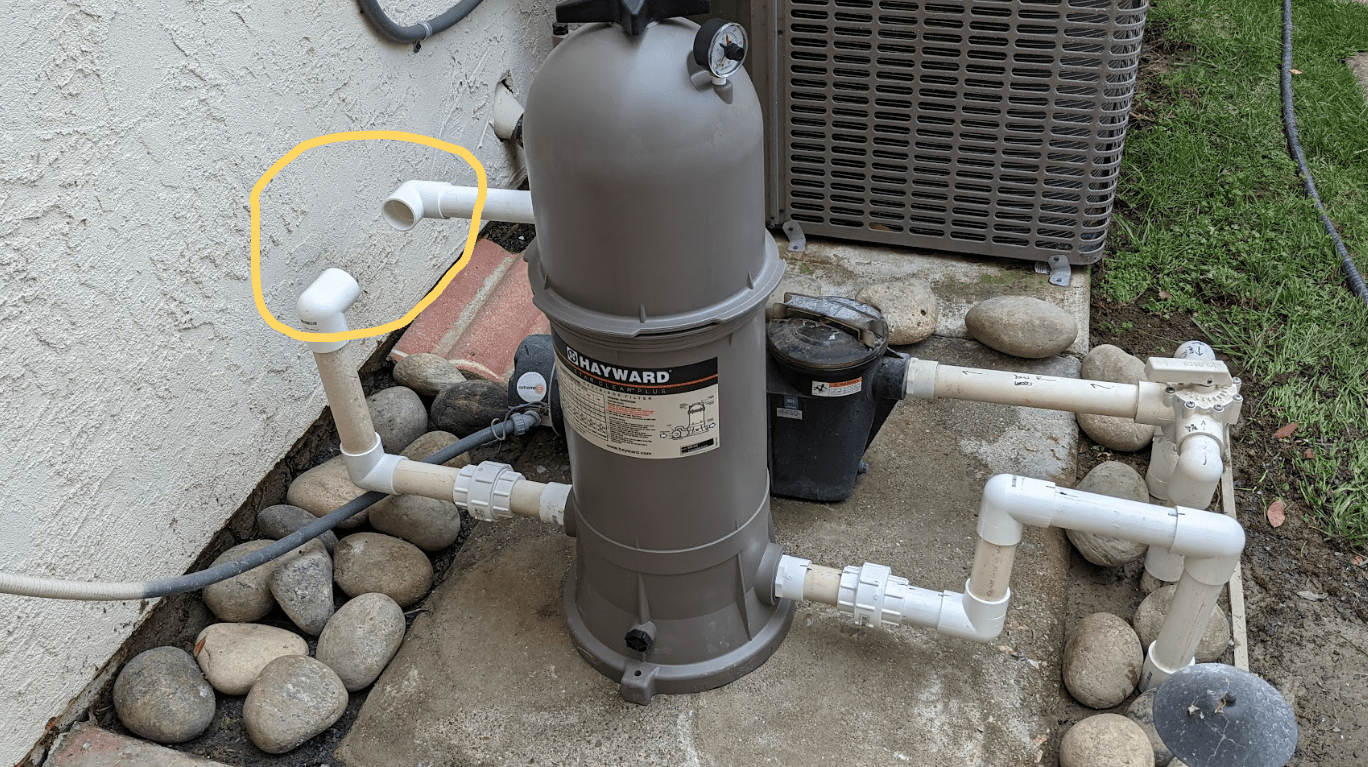
BUT…..in the meantime….I decided to make a few non-critical cuts to the DE filter system and pull out the, totally useless, backwash holder thingy.
But, first a shopping trip to Vans ACE Hardware to load up on parts I think I will need for this project….based on my schematic above. 🙂

You can see I made some guesses on right angle connectors, 45 degree connectors, strait thru connectors, caps, screw in’s, and most interesting, couplers that will allow me to disconnect the entire filter “easily” if it ever needs to be replaced.
We will see how many more times I have to visit ACE before I finish…..they seem to think they will see me 2 more times….I’m thinking I got everything….we will see. 🙂
I’m ready to start cutting…..
Here is a picture of the first cuts to get rid of that dang backwash thingy….
I capped the ends, because, low and behold, water came rushing out of the cut pipes! WTF?
I then cut the other side off, capped it, and took the damn thing out!

Good riddance, but, I’m keeping it for awhile……just in case.
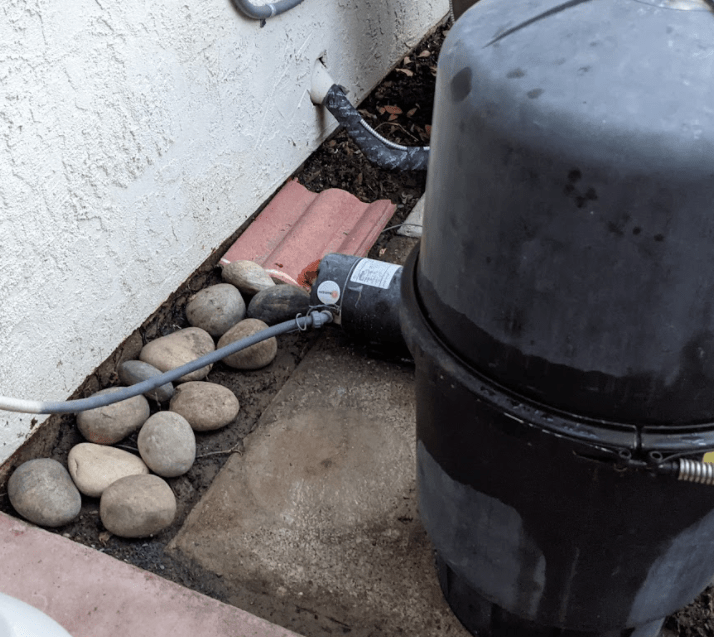
I also looked at the area which is now starting to open up….

And it all looks kind of ratty……I have river rock somewhere, let me find them (after I clean up the dirt).
It is beginning to look a bit better….after getting rid of a bunch of dirt, hosing the area, and adding the river rock. 🙂 The tile is there to protect a drain pipe from, well, Blaze! haha
I can go no further even though I am ready to complete the task…..hopefully the filter will arrive in a couple of days and is not broken or missing stuff.
The New Filter Arrived Friday, August 27, 2021
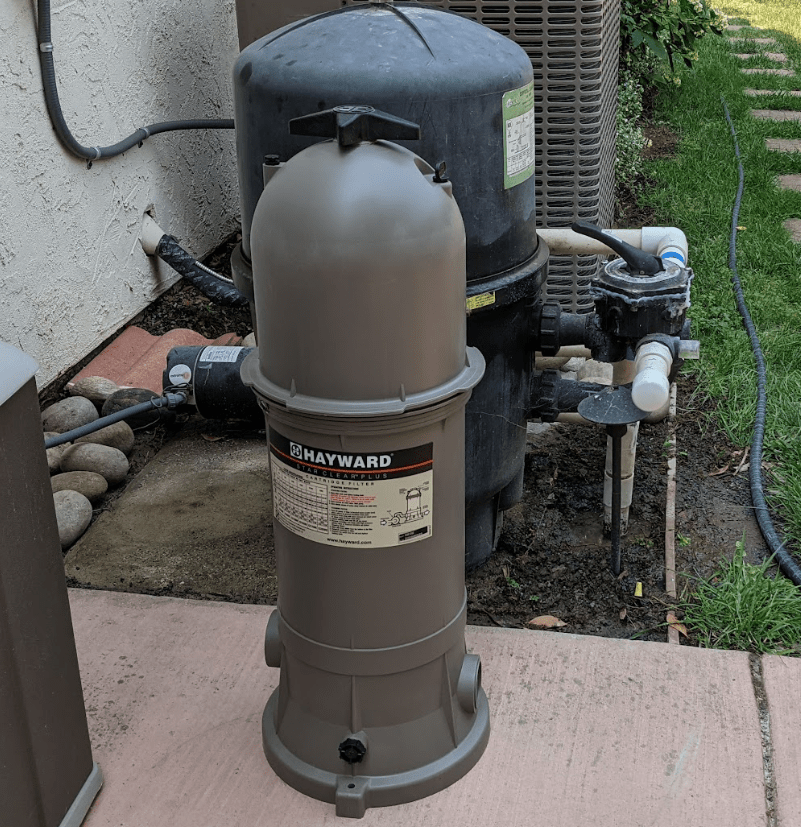
And I installed it less than 2 hours later.
Installation
As I said above from the first “final” cut.

To the last glue connection (which was tricky!)….
The total installation time (with zero trips back to ACE… with one 90 degree angle thingy left over) was about 1 hour and 40 minutes, including the time to fix a leak (I forgot to glue two joints…how stupid).
The final portraits of the new filter….

And…

3 Days Later
The pool was (still is not perfect) FILTHY! And so was the new filter! Yikes!

I then tried to learn a new way to clean the unfamiliar filter. It’s a work in progress. 🙂
But Blaze does not care….

Conclusion
With planning and some luck I was able to tackle a job that I would have passed on in my younger days!
The satisfaction of seeing the pool clean up and sparkle again is reward enough for me. The fact that the filter area is looking good and is easy to maintain, makes the process that much more satisfying.
Geek on!
Pat’s Trick
Pat came over to help me find out why the deep end of the pool was “greenish” even though the new filter is working great. The keys were a tennis ball in the skimmer hole to stop the skimmer, then turn the selector knob to fully pull from the “main” drain. This allowed us to finally figure out where a mystery lever inside the skimmer needed to be set (horizontal so the flap inside the pipe was open). This then allowed us to fully access the main drain while keeping the robot and skimmer OFF. We now know that ALL the water is, for sure, being pulled thru the main drain. After 10 minutes….the “greenish” color is fading! 🙂
More Geek stuff….


